

Frying saucer recipe — the name alone brings a crisp, golden image to mind. This simple, delicious dish blends fairground fun with homemade comfort, offering a bite that’s both crunchy and savory. In this article, I’ll show you how to make it from scratch, explore fun variations, help you fix common mistakes, and answer your top questions like “What is a frying saucer?” and “Which foods are best for deep-frying?” Whether you’re new to deep-frying or just looking to shake up your snack game, this recipe belongs in your kitchen.
Table of Contents
The Story & Intro: Why I Fell for the Frying Saucer Recipe
Fried food, family, and finding my groove
The first time I tried a frying saucer recipe, I was at a summer county fair. Every booth smelled like hot oil, sweet dough, and spices. But this one booth had something different — a thin, round pocket of dough filled with seasoned meat and cheese, fried until crisp. One bite, and I was hooked. It reminded me of those evenings in my childhood kitchen, where the air was filled with the sound of sizzling oil and the comfort of food made with love.
Since then, the frying saucer recipe has become a personal favorite. It’s easy to make, endlessly customizable, and always satisfying. I’ve filled them with everything from spicy ground beef to leftover mashed potatoes and scrambled eggs. No matter what I use, they always turn out golden and crispy, perfect for dipping and sharing.
Cooking these saucers makes me feel grounded. They’re a reminder that food doesn’t need to be complicated to be special — it just needs to be made with care and enjoyed with good people.
What is a frying saucer, exactly?
A frying saucer is a flattened round of dough filled with savory ingredients, sealed, and deep-fried until crisp. It’s similar in spirit to an empanada, but thinner and crunchier. The dough can be homemade or store-bought, and the filling possibilities are endless — think seasoned meats, vegetables, cheese, or a mix of all three.
What makes the frying saucer recipe stand out is the contrast in textures: the outer layer fries up golden and crunchy, while the inside stays soft and flavorful. It’s the kind of snack that satisfies without trying too hard — no fancy tools, no long prep, just a simple idea done well.
Making Frying Saucers at Home: Easy, Crispy, and Customizable
Simple ingredients for an unforgettable frying saucer recipe
One of the best things about a frying saucer recipe is how few ingredients you need. With basic pantry staples, you can create something that tastes like it came from a street food vendor. The dough is simple and forgiving, and the fillings can be customized based on what you have in the fridge.
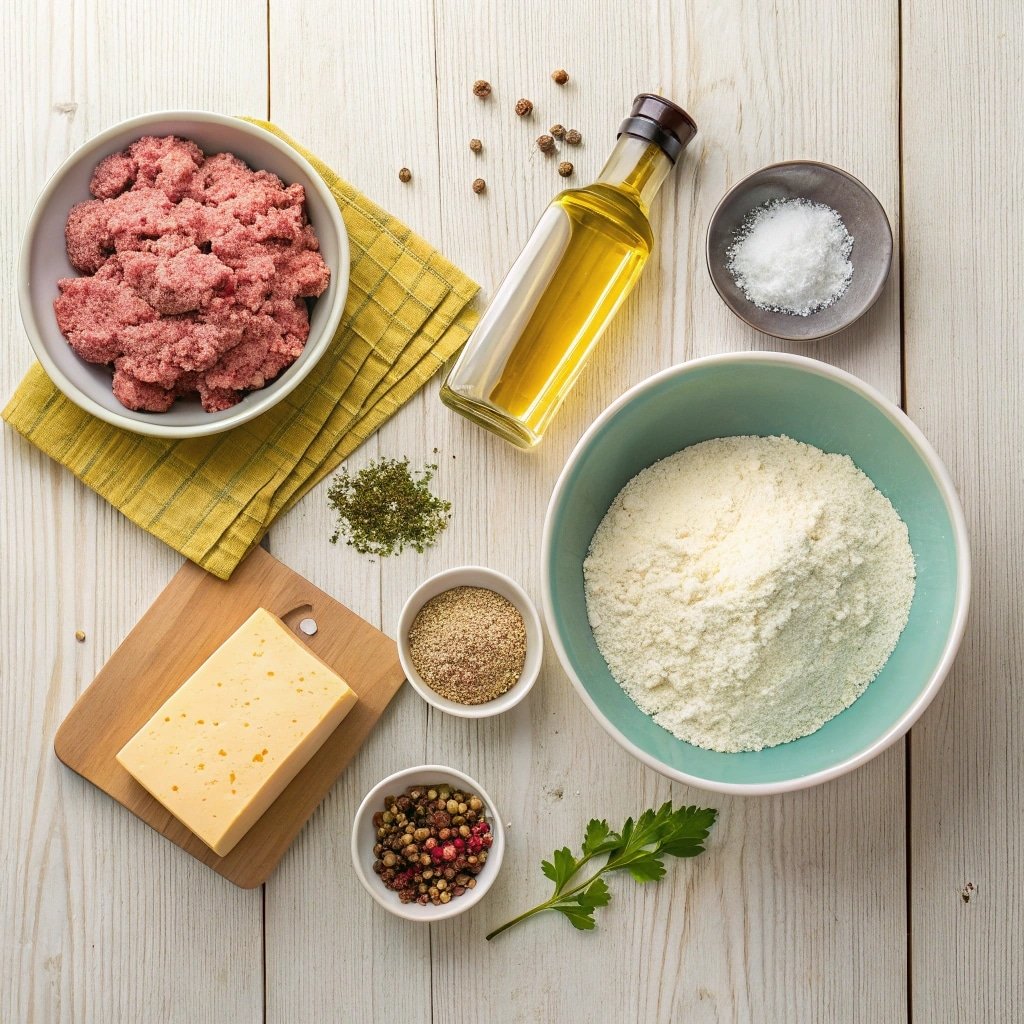
Here’s what you’ll need for the dough:
- 2 cups all-purpose flour
- ½ tsp baking powder
- ½ tsp salt
- 2 tbsp vegetable oil
- ¾ cup warm water (adjust as needed)
And for the filling (classic option):
- 1 cup ground beef
- ½ onion, finely chopped
- 1 tsp garlic powder
- ½ tsp paprika
- Salt and pepper to taste
- ½ cup shredded cheese (optional)
You can swap the meat for mashed potatoes, scrambled eggs, sautéed veggies, or whatever leftovers are calling your name. That’s part of the charm — the frying saucer is flexible and forgiving.
Once you have everything prepped, it’s time to assemble and fry.
Step-by-Step Guide: How to Shape and Fry Your Saucers
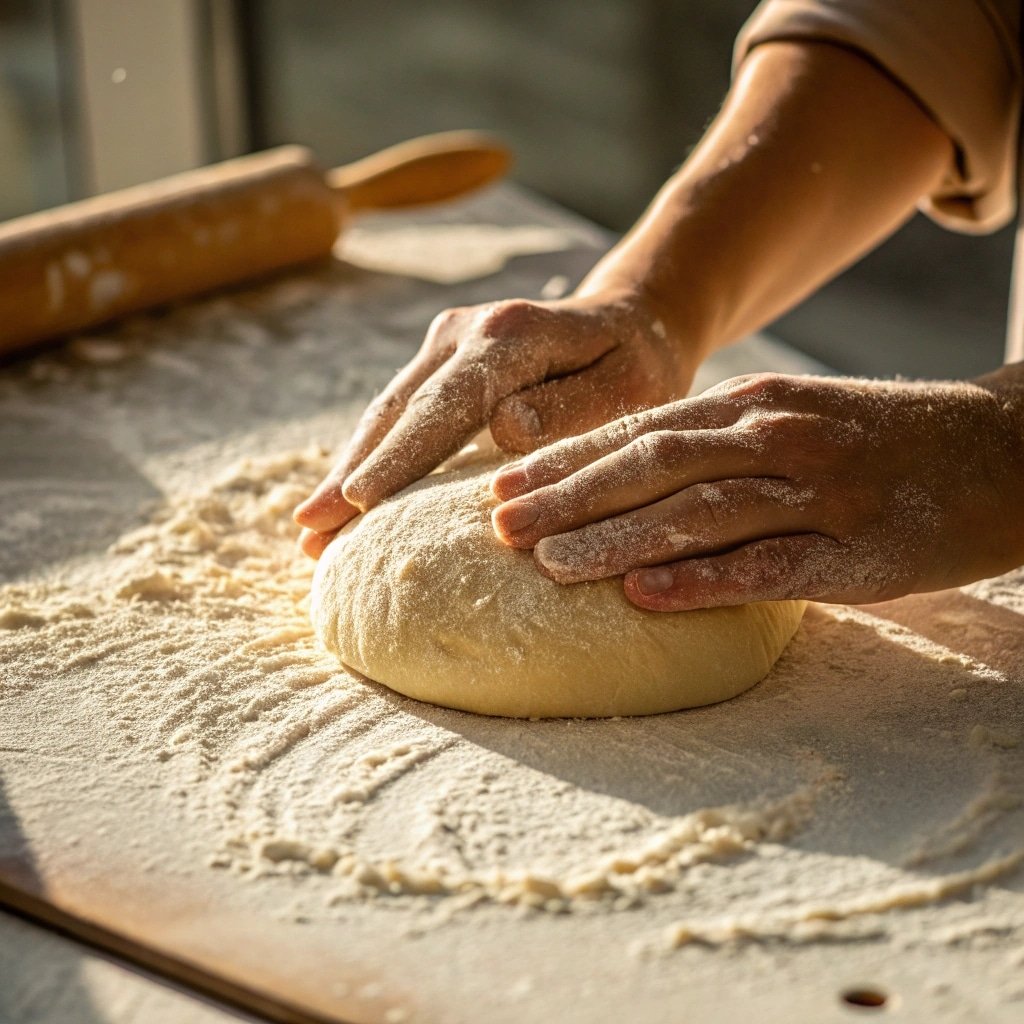
- Start with the dough: In a large bowl, mix flour, baking powder, and salt. Add oil and warm water, and stir until a dough forms. Knead for 3–5 minutes until smooth. Cover it and let it sit for 15 minutes.
- Make the filling: Sauté the ground beef with chopped onion, garlic powder, paprika, salt, and pepper until it’s fully browned and cooked through. Remove from heat and let it cool slightly before mixing in cheese if using.
- Divide and roll: Cut the dough into 6–8 equal parts and shape each piece into a smooth ball. Roll each one into a ball, then flatten into a thin circle about ¼ inch thick.
- Fill and seal: Spoon 2 tablespoons of filling onto one half of each circle. Fold the dough over to create a half-moon or round shape, then press the edges with a fork to seal them.
- Heat oil in a deep skillet to 350°F. Fry each saucer for 2–3 minutes on each side, or until they turn golden brown. Drain on paper towels.
What you’ll get is a saucer that’s golden, crispy, and packed with flavor. Serve hot with your favorite dipping sauce — ranch, hot sauce, or garlic mayo all work beautifully.
The frying saucer recipe is about more than just crunch — it’s about flavor, fun, and turning a handful of ingredients into something memorable.
Print
Frying Saucer Recipe: A Crispy Favorite You’ve Been Missing
- Total Time: 30 minutes
- Yield: 6 frying saucers 1x
Description
Crispy, golden frying saucer recipe with savory fillings inside soft dough. A perfect deep-fried snack made with simple ingredients.
Ingredients
2 cups all-purpose flour
½ tsp baking powder
½ tsp salt
2 tbsp vegetable oil
¾ cup warm water
1 cup ground beef
½ onion, finely chopped
1 tsp garlic powder
½ tsp paprika
Salt and pepper to taste
½ cup shredded cheese
Instructions
1. Mix dry ingredients. Add oil and water, knead to form dough.
2. Let dough rest 15 minutes.
3. Cook beef with onion, garlic, and spices. Let cool. Mix in cheese.
4. Divide dough into balls and flatten into ¼-inch rounds.
5. Add filling to each, fold and seal with fork.
6. Heat oil to 350°F. Fry each for 2–3 minutes per side until golden.
7. Drain on paper towels and serve hot.
Notes
Customize filling with veggies, eggs, or potatoes.
Avoid overfilling to prevent breakage.
For a lighter version, bake or air-fry.
- Prep Time: 20 minutes
- Cook Time: 10 minutes
- Category: Snacks
- Method: Deep-Fried
- Cuisine: American
Nutrition
- Serving Size: 1 saucer
- Calories: 230
- Sugar: 1g
- Sodium: 220mg
- Fat: 12g
- Saturated Fat: 4g
- Unsaturated Fat: 6g
- Trans Fat: 0g
- Carbohydrates: 22g
- Fiber: 1g
- Protein: 9g
- Cholesterol: 35mg
Keywords: frying saucer recipe, crispy snack, deep fried dough
Variations on the Classic Frying Saucer: Get Creative in the Kitchen
Flavor-packed filling ideas for your frying saucer recipe
Once you’ve mastered the basic frying saucer recipe, it’s time to have some fun with it. The true charm of this snack lies in how easily it can be customized. You can take the same dough and completely change the flavor experience with what you put inside.
Here are some tasty ideas to help you get started:
- Breakfast-style: Scrambled eggs, crumbled sausage, and shredded cheddar
- Spicy veggie: Sautéed bell peppers, onions, corn, and pepper jack cheese
- Cheeseburger twist: Ground beef, diced pickles, ketchup, and American cheese
- Buffalo Chicken: Shredded chicken mixed with buffalo sauce and crumbled blue cheese.
- Loaded potato: Mashed potatoes, bacon bits, green onions, and sharp cheddar
Each variation brings a new vibe to your frying saucer. Whether you want something hearty, cheesy, or spicy, there’s a version that’ll hit the spot. You don’t need to follow strict rules — just use what you love, and the results will be delicious.
As you try new versions, keep in mind that less is more. Overfilling can make sealing difficult and may cause leaks during frying.
Dough upgrades and cooking options for your frying saucer recipe
The traditional frying saucer recipe uses a soft flour dough, but you can easily mix things up. Want a shortcut? Use store-bought pizza dough or biscuit dough for quicker prep. Prefer a little extra crisp? Add a spoonful of cornmeal or semolina to your flour blend for a slightly crunchier shell.
If you’re not a fan of deep-frying, these can also be air-fried or baked. To bake, brush each sealed saucer with oil or egg wash and place them on a parchment-lined tray. Bake in a preheated oven at 400°F for 15–20 minutes, or until the tops are beautifully golden and crisp.
Air frying is another great option. Lightly coat the saucers with oil spray, then cook in a preheated air fryer at 375°F for about 10 minutes, flipping halfway through.
The result? A lighter, but still wonderfully crisp, version of the classic saucer — with less mess and oil.
Mastering Your Frying Saucer Recipe: Storing, Reheating & Fixing Mistakes
How to store and reheat frying saucers the right way
Once you’ve made your first batch of frying saucers, you might be wondering what to do with the leftovers — if there are any. A great frying saucer recipe doesn’t just taste good fresh out of the fryer; it can also be stored and reheated with excellent results.
After frying, let the saucers cool completely. Then, place them in an airtight container with a paper towel beneath to absorb extra oil. Store them in the refrigerator for up to three days. Want to keep them longer? Freeze them in a single layer first, then transfer to a sealed freezer-safe bag. They’ll hold well for about two months.
To reheat and keep that crisp exterior, skip the microwave. Bake in a preheated oven at 375°F for 10–12 minutes, or air fry at 350°F for 6–8 minutes until golden and crisp. This brings back the original texture without drying out the filling.
If you plan ahead, you can also freeze the assembled but uncooked saucers. When you’re ready to cook them, just fry straight from frozen — adding an extra minute or two per side to account for the temperature difference.
Common mistakes in frying saucer recipes and how to avoid them
Even the best frying saucer recipe can go off track if a few small details are missed. Here are some of the most common issues home cooks run into — and how to fix them.
- Filling too full: It might be tempting to pack in extra meat or cheese, but overstuffing causes the dough to split. Use just enough to fill without stretching the dough.
- Oil too hot or too cool: If the oil is too hot, the outside burns before the inside cooks. Too cool, and the dough soaks up excess oil. Keep your frying temperature steady at 350°F.
- Edges not sealed: This causes the filling to leak into the oil. Press down firmly with a fork all the way around the saucer before frying.
- Too many in the pan: Fry only one or two at a time to prevent the oil temperature from dropping, which leads to soggy crusts.
Making perfect frying saucers doesn’t take professional skills — just patience, a little care, and knowing these easy fixes. After you’ve done it a couple of times, it starts to feel like second nature.
Conclusion
The frying saucer recipe is more than a crispy snack — it’s a flexible and deeply satisfying dish that brings comfort with every bite. With simple ingredients and a few easy steps, you can turn pantry staples into something warm, golden, and loaded with flavor. Whether you’re filling them with seasoned beef, leftover veggies, or breakfast favorites, frying saucers always deliver that perfect crunch.
They’re easy to store, simple to reheat, and endlessly customizable — which makes them ideal for busy cooks, weekend treats, or feeding a crowd. Once you try it, you’ll keep this recipe close. It’s homemade comfort food that fits into everyday life, made with care and meant to be shared.
For More recipes Follow me in Facebook and Pinterest
FAQ About the Frying Saucer Recipe
What foods are good deep-fried?
Some of the best foods for deep-frying include potatoes (like fries or wedges), chicken, onion rings, cheese sticks, and dough-based snacks like the frying saucer. The key is using foods that cook quickly and hold their shape. Anything with a crispy outer layer and soft center makes for excellent deep-frying.
What is a frying saucer?
A frying saucer is a disc-shaped piece of dough filled with savory ingredients such as meat, cheese, or vegetables. It’s folded, sealed, and deep-fried until golden and crispy. It’s similar to a flat empanada or hand pie but thinner and crunchier, making it a unique snack or appetizer.